QR Menu Setup Checklist for Hotel Restaurants
Setting up a QR menu in a hotel restaurant or room service operation takes a few days when done in the right order. The checklist below walks you through every step — nothing skipped, nothing assumed.
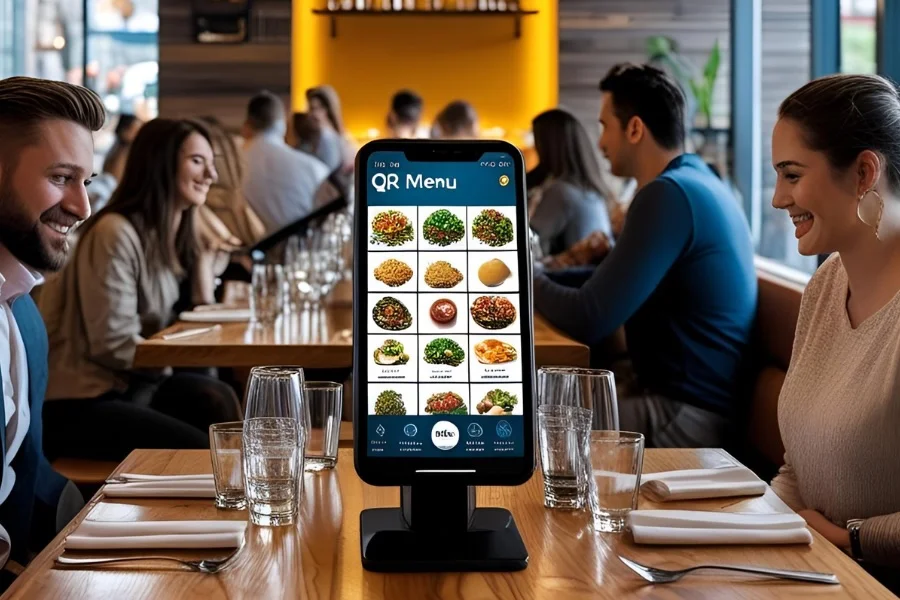
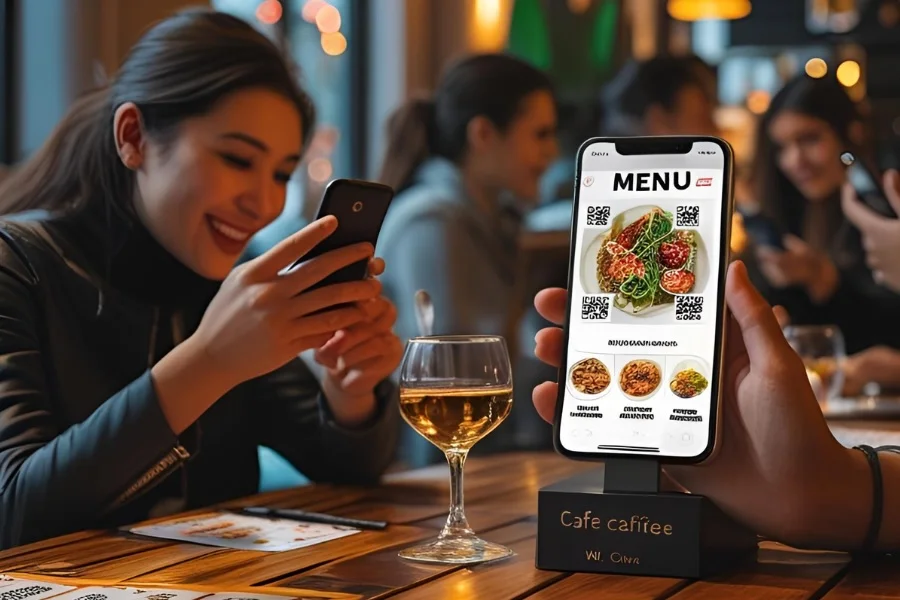
1. Prepare Your Menu Content
- Organise items into clear categories: breakfast, mains, snacks, beverages, alcoholic drinks.
- Write a short description for each item — ingredients, cooking method, portion size.
- Add allergen information. Legally required across most European markets, and a guest trust signal everywhere.
- Enter current prices. The biggest advantage of a digital menu is instant price changes — start accurate.
- Add photos. Visuals increase average order value. Avoid low-resolution images.
2. Configure Languages
- Identify your priority languages based on your actual guest mix.
- For Balkan and Adriatic properties: English, Turkish, Albanian, and Serbian/Croatian covers most guests.
- For Middle East-facing properties: add Arabic.
- Review translations with someone who knows culinary vocabulary — machine translation often fails on kitchen terms.
- Two well-translated languages outperform five careless ones.
3. Set Up Time-Based Menu Shifts
- Create separate menu groups for breakfast, lunch, dinner, and late night.
- Enter automatic shift times in the system. No manual staff action required at each transition.
- Align shift times with kitchen preparation windows.
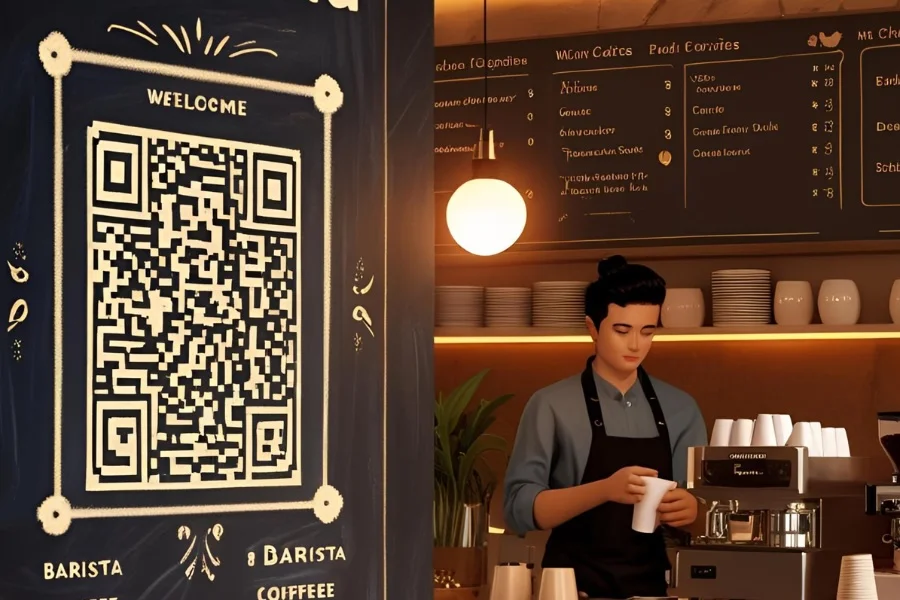
4. Generate and Prepare QR Codes
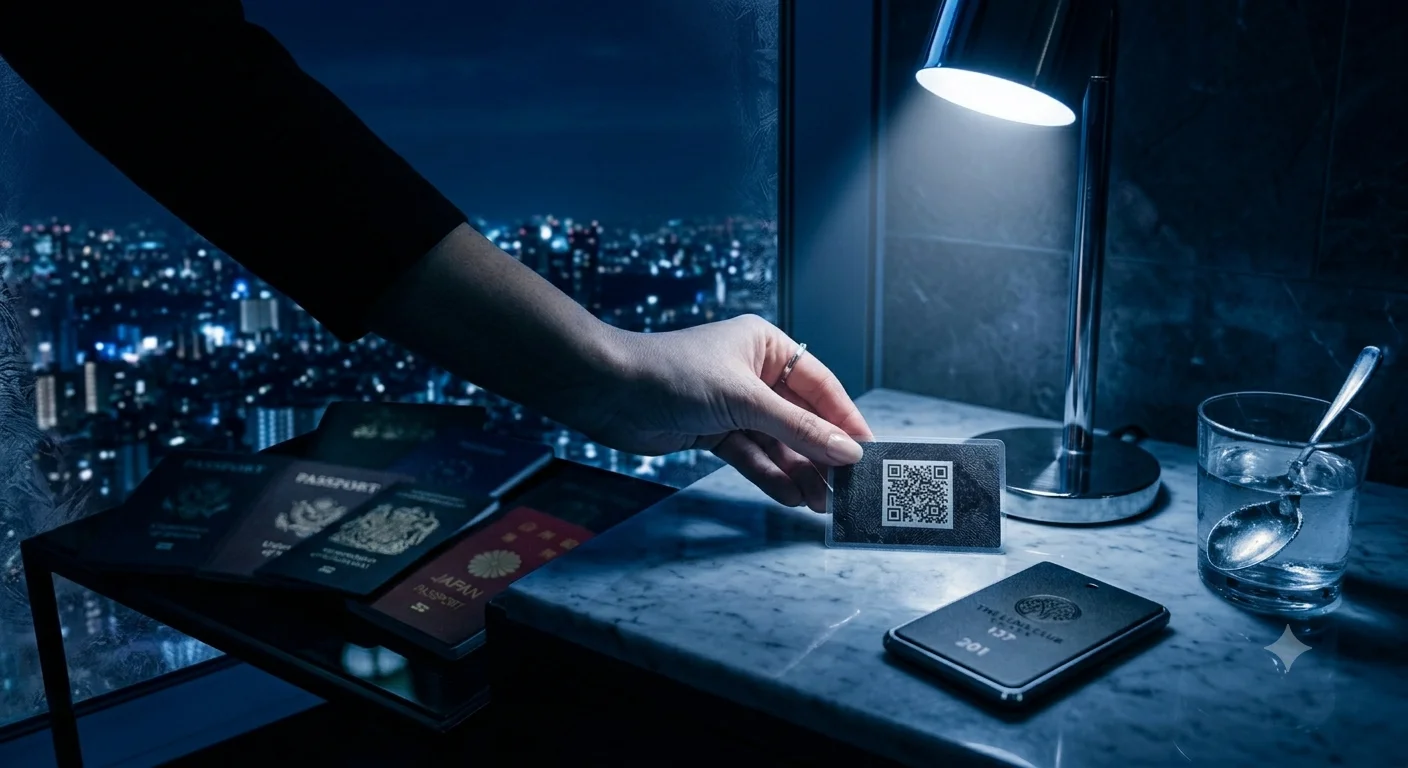
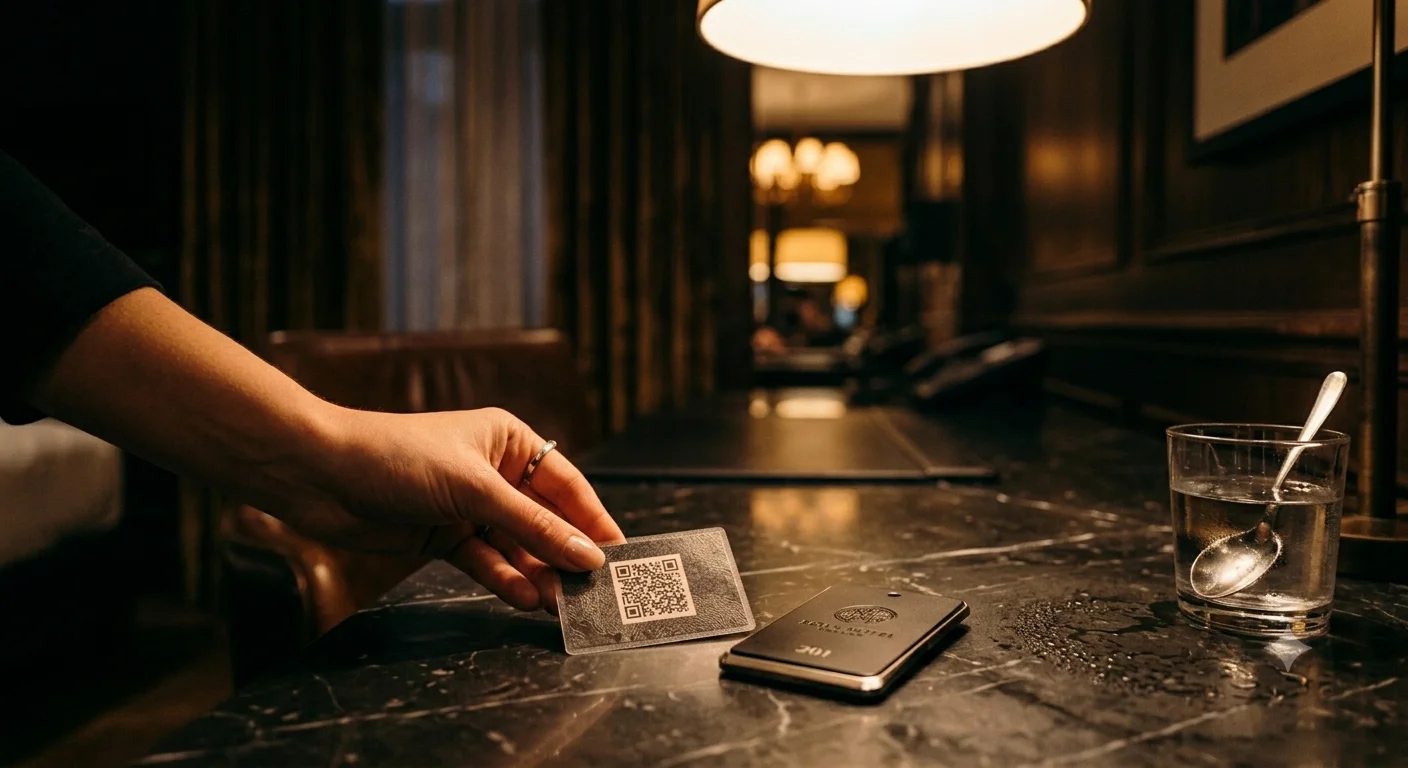
- For room service: generate a unique QR code per room — each code carries the room number, so orders reach the right destination.
- For restaurant tables: per-table codes or a single shared code both work depending on your operation.
- Print on laminated card or durable material. Paper prints deteriorate with moisture and cleaning.
- Test every code before printing at scale.
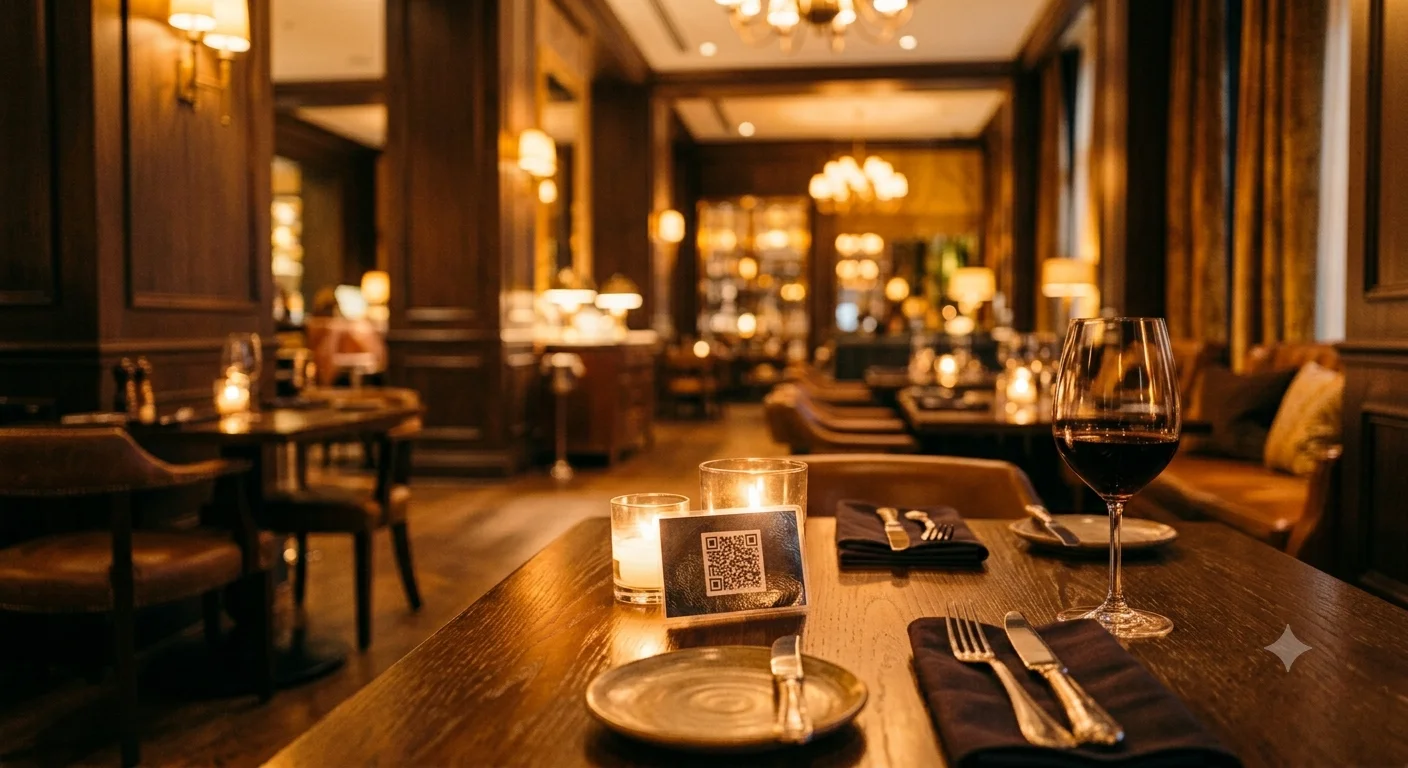
5. Place QR Codes in the Right Spots
- Bedside table — the first surface guests interact with, and the peak spot for late-night orders.
- Inside of room door — visible on entry and every return.
- Bathroom counter — captures morning breakfast intent.
- TV standby screen — a static QR overlay turns idle screen time into an active order point at no extra cost.
- For restaurant tables, standard tabletop placement is sufficient.
6. Brief Your Team
- Front desk: able to answer "how does the QR menu work?" quickly and correctly.
- Room service team: knows how order notifications arrive and how to confirm them.
- Kitchen team: knows how to mark items as sold out — otherwise unavailable items keep coming in as orders.
- A 10–15 minute briefing before go-live prevents most first-week friction.
7. Test Before Going Live
- Scan all QR codes from different devices — Android, iOS, and an older model phone.
- Check every language — do not go live with missing translations.
- Place a test order, receive the notification, confirm it — run the full cycle.
- Manually simulate a menu shift to confirm automatic transitions work.
Conclusion
With the right sequence, QR menu setup for a hotel restaurant is a matter of days, not weeks. See our room service setup guide to extend the system across all guest-facing areas of your property.